Cosplay photography: Tips to take your own pics at home
Not able to have a photographer take photos of your cosplay? Then follow this guide to take your own!

If you’ve ever tried to get pictures of your cosplay, you know how difficult it can be to find a photographer, a good location, a time that works for everyone. It can be a huge hassle, when all you really wanted was a few good photos. Fortunately, you don’t need fancy equipment, a perfect location, or even another person to take cosplay pictures! You can do it in your own house, with just yourself. And in this article, I’m going to teach you how.
While I have occasionally done photoshoots with another person behind the camera, the vast majority of my cosplay photos were taken by myself. And while some of them were taken at a specific, outdoor location, many of them were just in my bedroom!
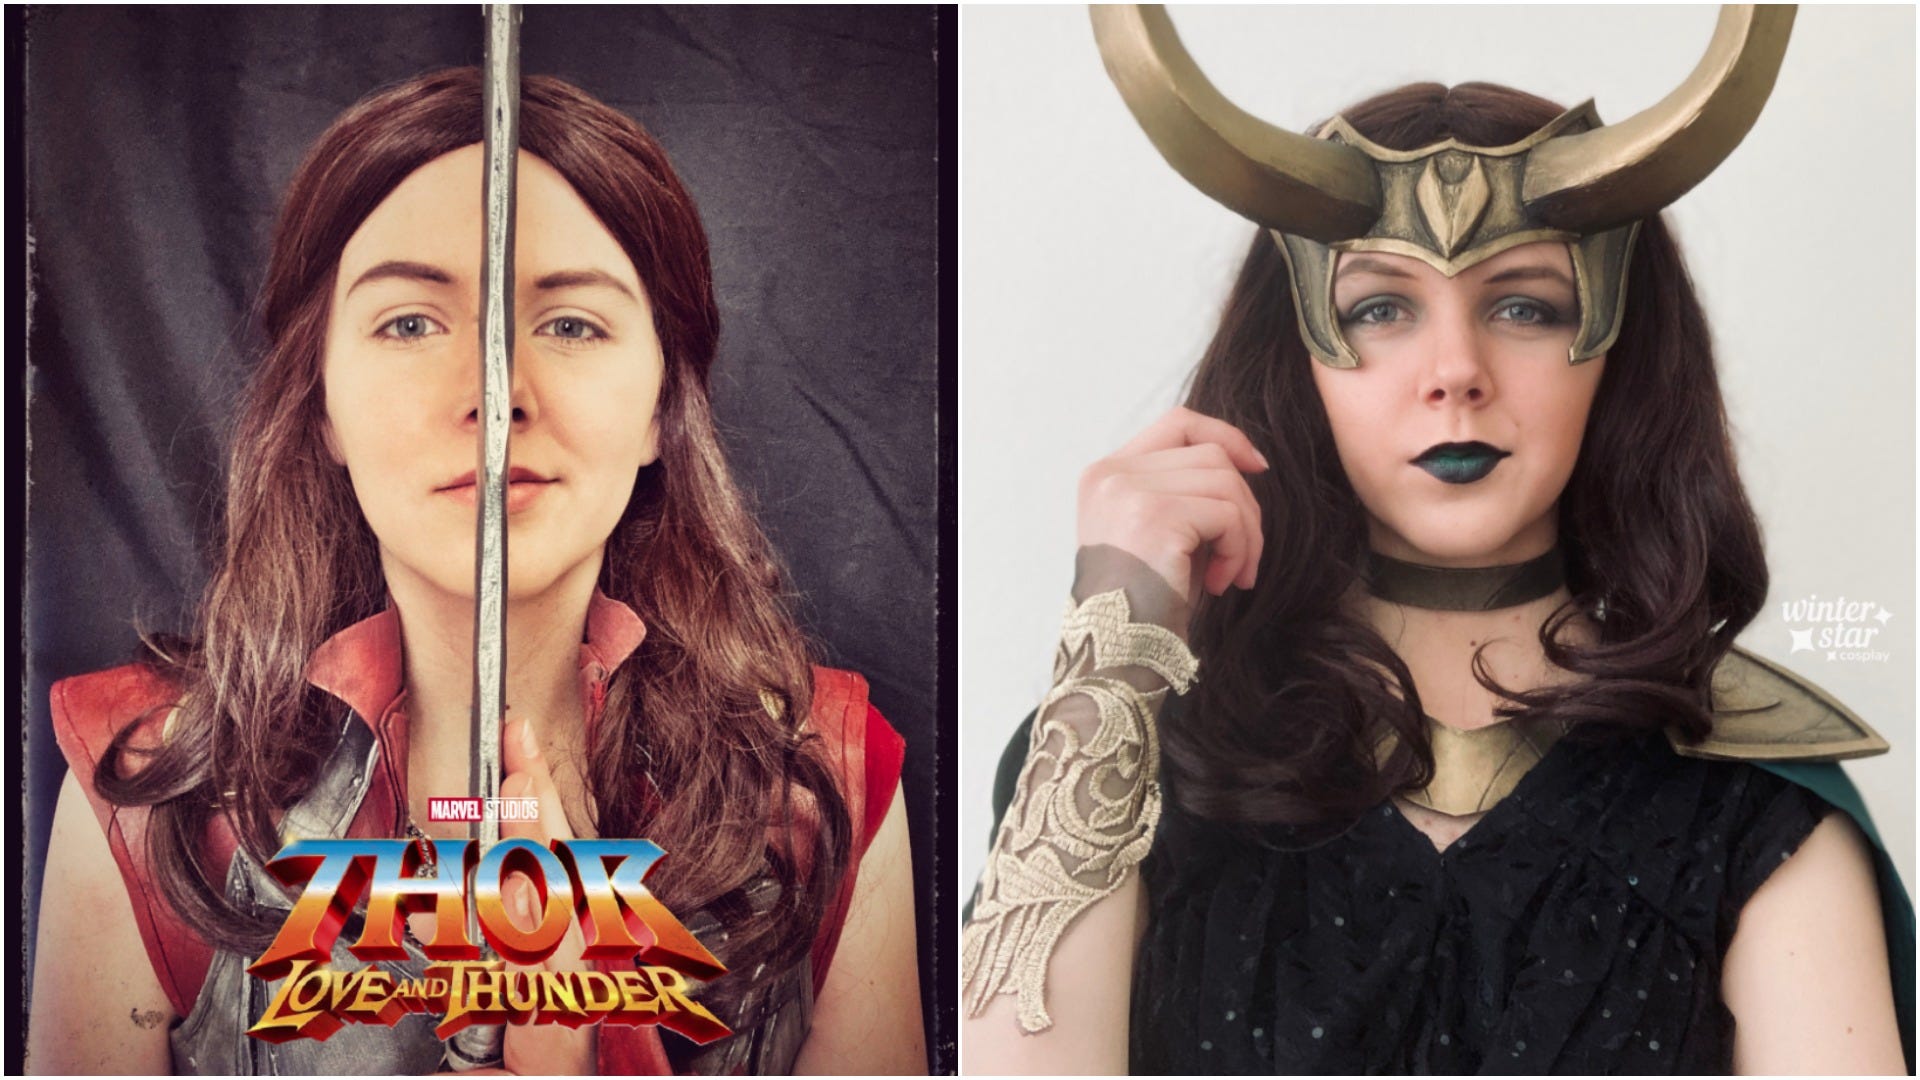
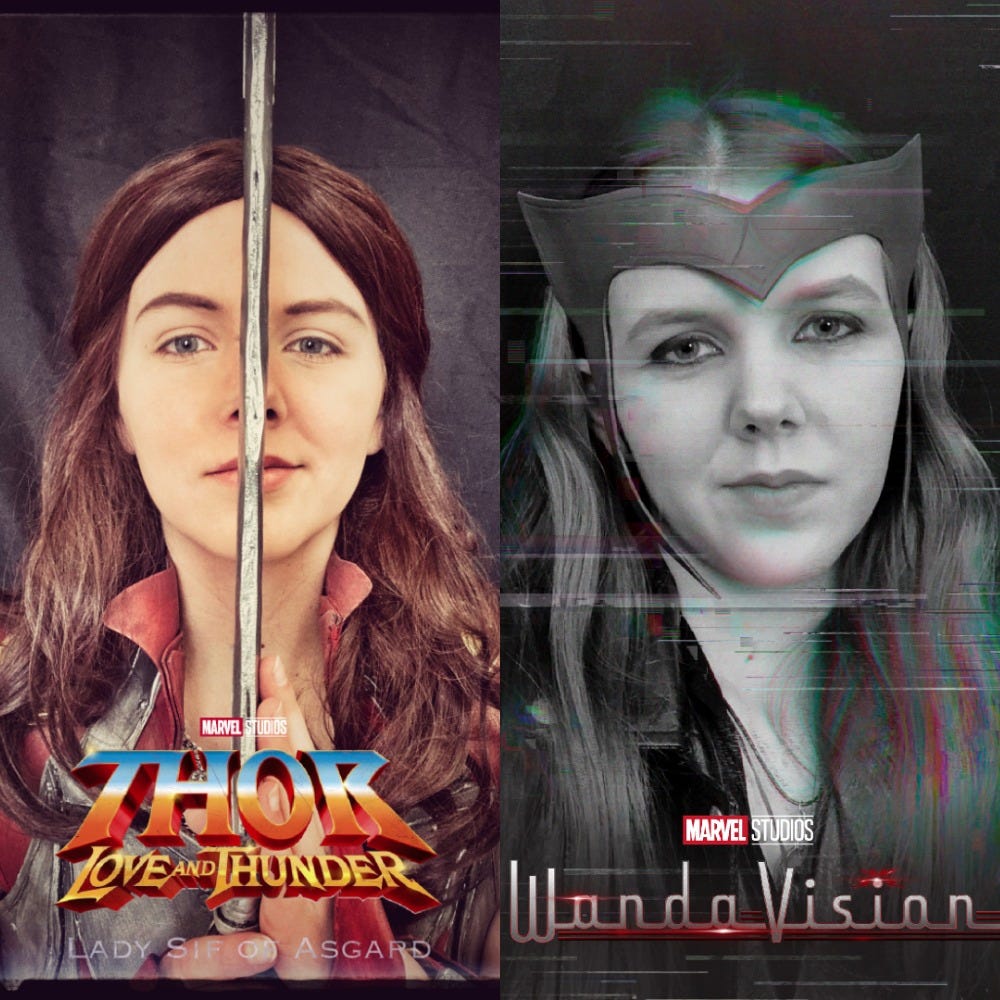
Let’s start by talking about the set. While taking pictures in my house, there are two main backgrounds I choose between. First, I’ll simply use a blank white wall, which is great for a smooth, even backdrop. Plus, it’s super easy to find, since most houses have... a lot of white walls. These can be good for portrait, mid-length, and closeup shots. Or even full-body shots, if you don’t mind showing a bit of the floor. Below are two cosplay photos I took using a plain, white wall in my bedroom. Even with that simple backdrop, you can still get some nice photos.
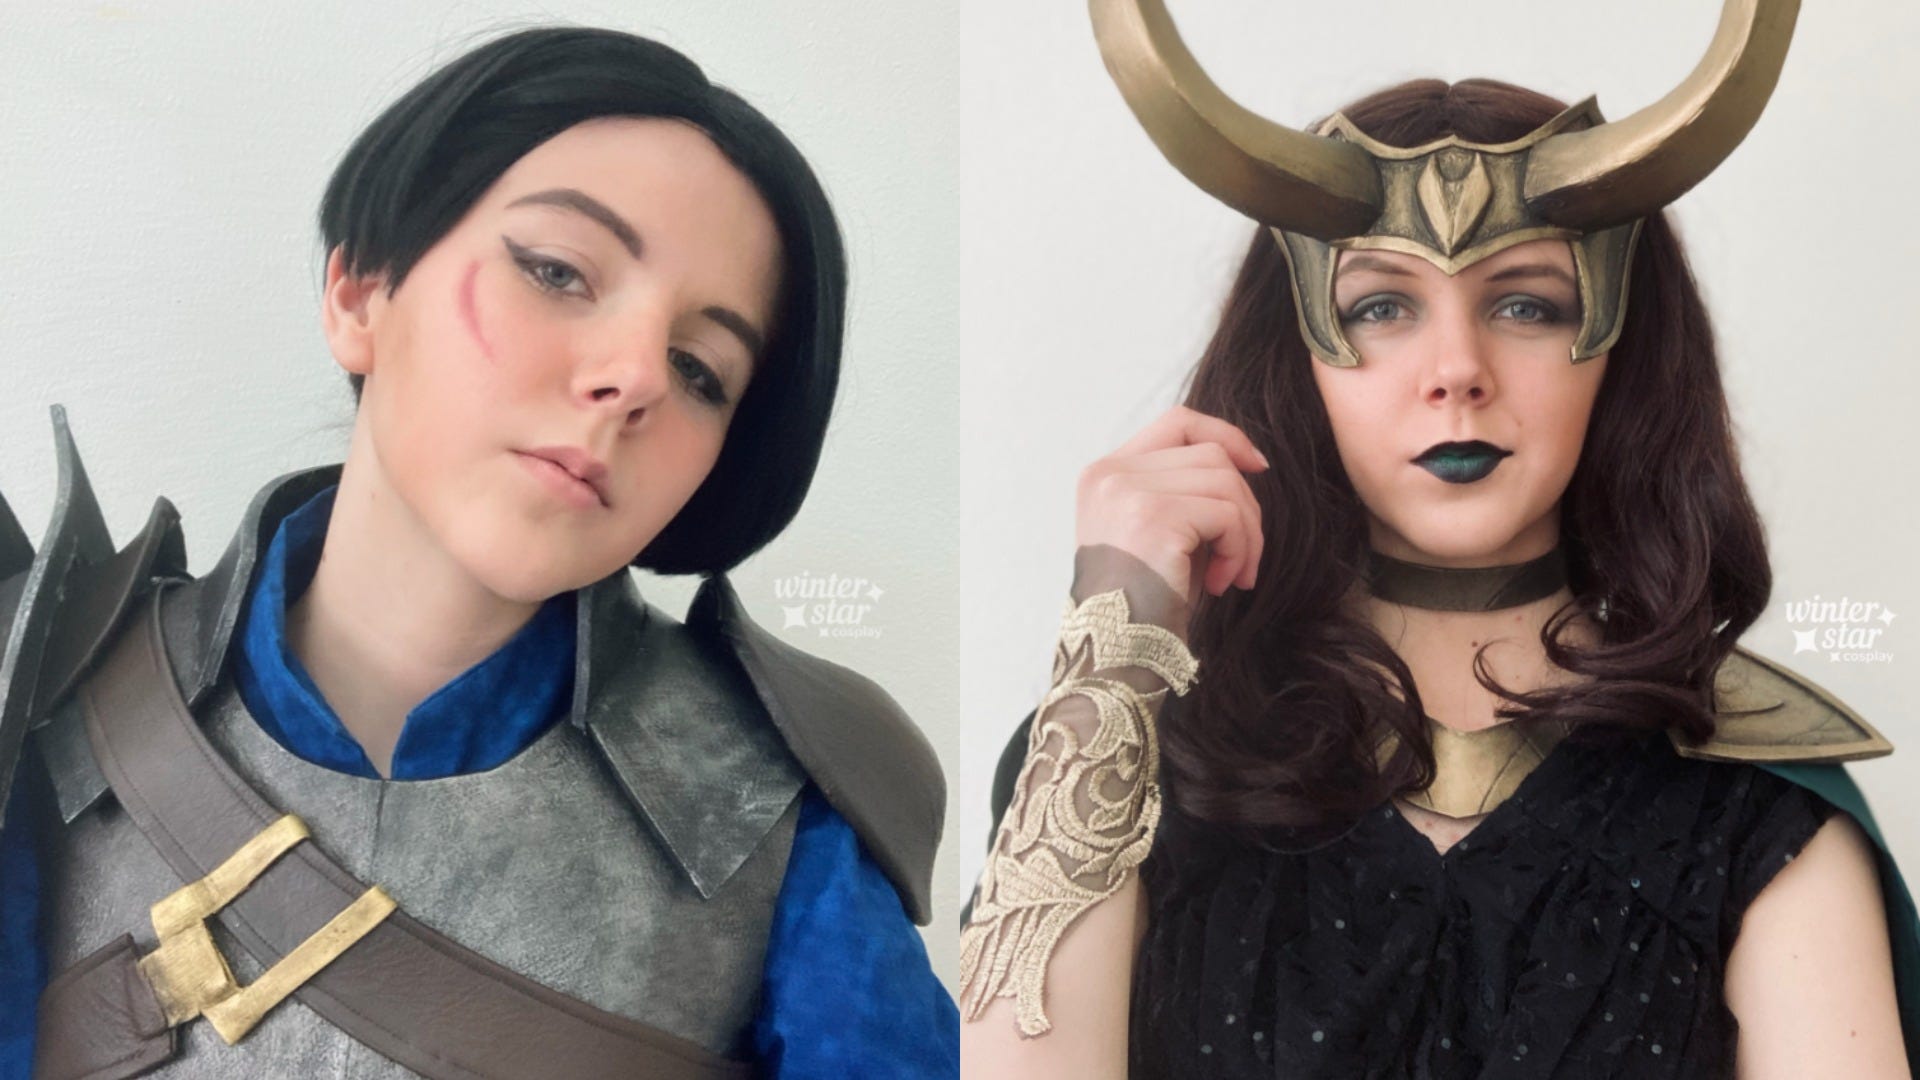
For the second option, I’ll hang up a sheet to use as a backdrop, usually draping it over my curtain rod, and hanging it in my closet. This can be good for similar pictures as before, but you have more control over the color and location, as you can hang up the sheet pretty much wherever you want. I’ve used both white and black sheets as backdrops, though you can use any color you want, to get a specific look. Below are two different cosplay photos I took using a black sheet as a background. Just using the one background, you can still get a nice variety of shots.
Now that I’ve talked some about the background, let’s talk about equipment. You don’t need anything fancy to take cosplay photos, but there are some things that will make it a lot easier, especially if you’re shooting alone.
First is the camera itself. While I have shot cosplay photos on a DSLR, you can still get some really nice results with just your phone. The main advice I have when shooting on a phone is to use the BACK camera. While it is nice to be able to see yourself when you’re shooting, the back camera is much higher quality than the front, and picks up colors and details much better. The end results almost always look much sharper and higher quality. Or, of course, you can just use a DSLR, or any other camera you may have. It depends on your preferences, what kind of photo you’re trying to take, and what you have on hand.
When you’re actually taking the pictures, there are three main things you can do, if you’re shooting alone. The first is to take selfies. You can still get some nice results with these, and things like ‘bathroom selfies’ can be good to show off the costume. I almost always take some of these, as I like how they look (especially since the lighting in my bathroom is really nice).
The second method is using the self-timer. Whether you have a phone or a DSLR, you will almost always have the option for a self-timer. You simply set up your camera with the angle you want, set the self-timer, and get into position, holding a pose until the photos have been taken. Then you can go back and check the photos. This method includes a lot of going back and forth, but it allows for a ton of different shots and options. And, of course, you do need a tripod, with a phone attachment if you’re using your phone. A tripod isn’t strictly necessary, but it makes everything SO much easier.
The third method, and the one I use the most, is a remote trigger. You can get these for incredibly cheap, and they can connect to your phone via Bluetooth. Then all you have to do is make sure the trigger is hidden, whether in your hand, behind a prop, or even pressed with your foot, and take the pictures by clicking it. I use a remote trigger for most of my cosplay photos these days, as it’s super convenient when you’re shooting alone, and it allows you to take a lot of different photos at once, without having to go and reset the self-timer after every shot. But, again, it’s totally up to you!
Lastly for equipment, let’s talk about lighting. I most often use two umbrella lights when shooting, positioning them to get an amount of light that I’m happy with. In addition, my room that I most often shoot in has a nice window, and I get a lot of natural light through that. Getting well-lit photos is always a struggle when shooting indoors, but shooting by a window can help a lot, even if you don’t have any studio lights. My main bit of advice is to shoot near a window, or in another well-lit location, and to not use your overhead ceiling lights, as these can cause more unflattering lighting. It may take some trial and error to find a setup you’re happy with, but good lighting is super important for good cosplay photos, and it’s worth the extra work.
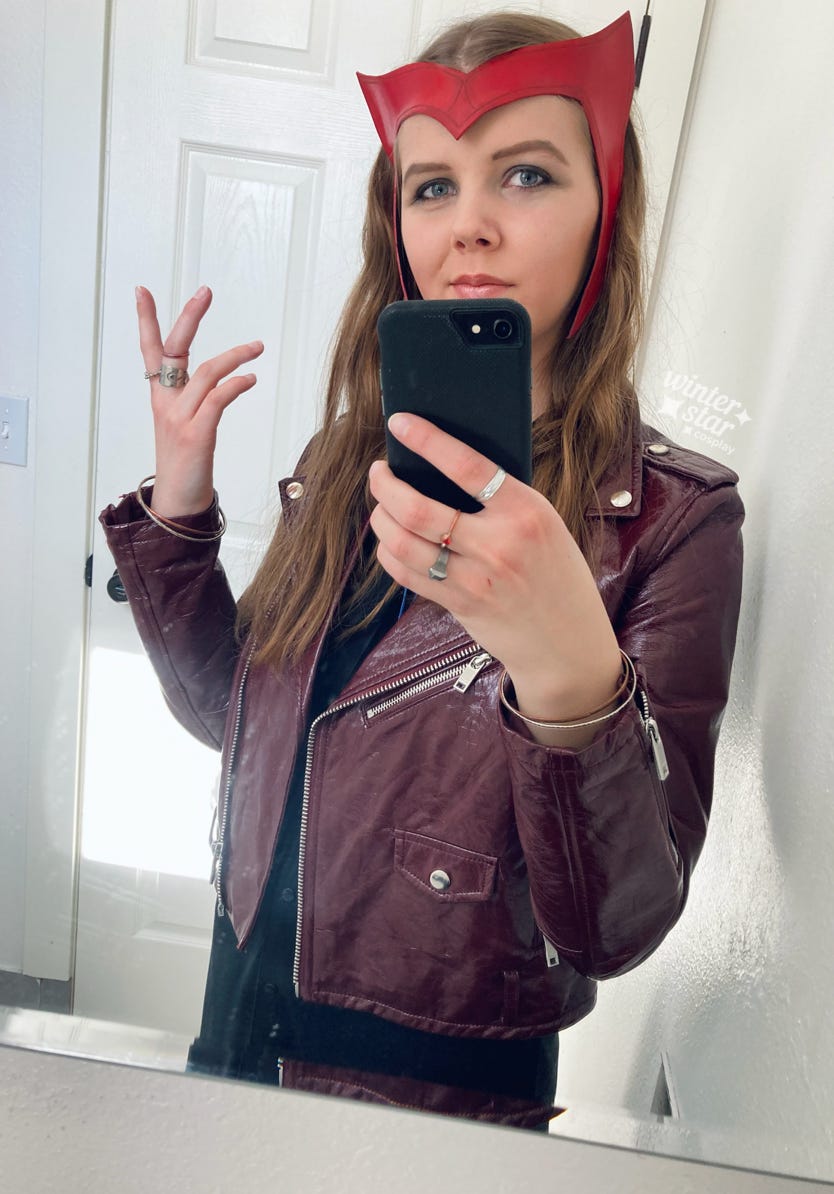
Finally, let’s talk about post-production and editing. While you can leave your cosplay photos as they are, it’s almost always helpful to do a bit of editing afterwards. You can improve the colors and lighting, smooth over errors and inconsistencies, and help create a certain mood in your photos. I edit most of my cosplay photos on my iPad, and I use the built-in editor in Photos, and the apps Procreate and Snapseed. These are all super handy to get a better result with photo editing. Below you can see the before and after for one of the cosplay photos I took, and there’s definitely a clear improvement! Again, while editing isn’t necessary, I find it incredibly helpful, and I love the results I can get with it.

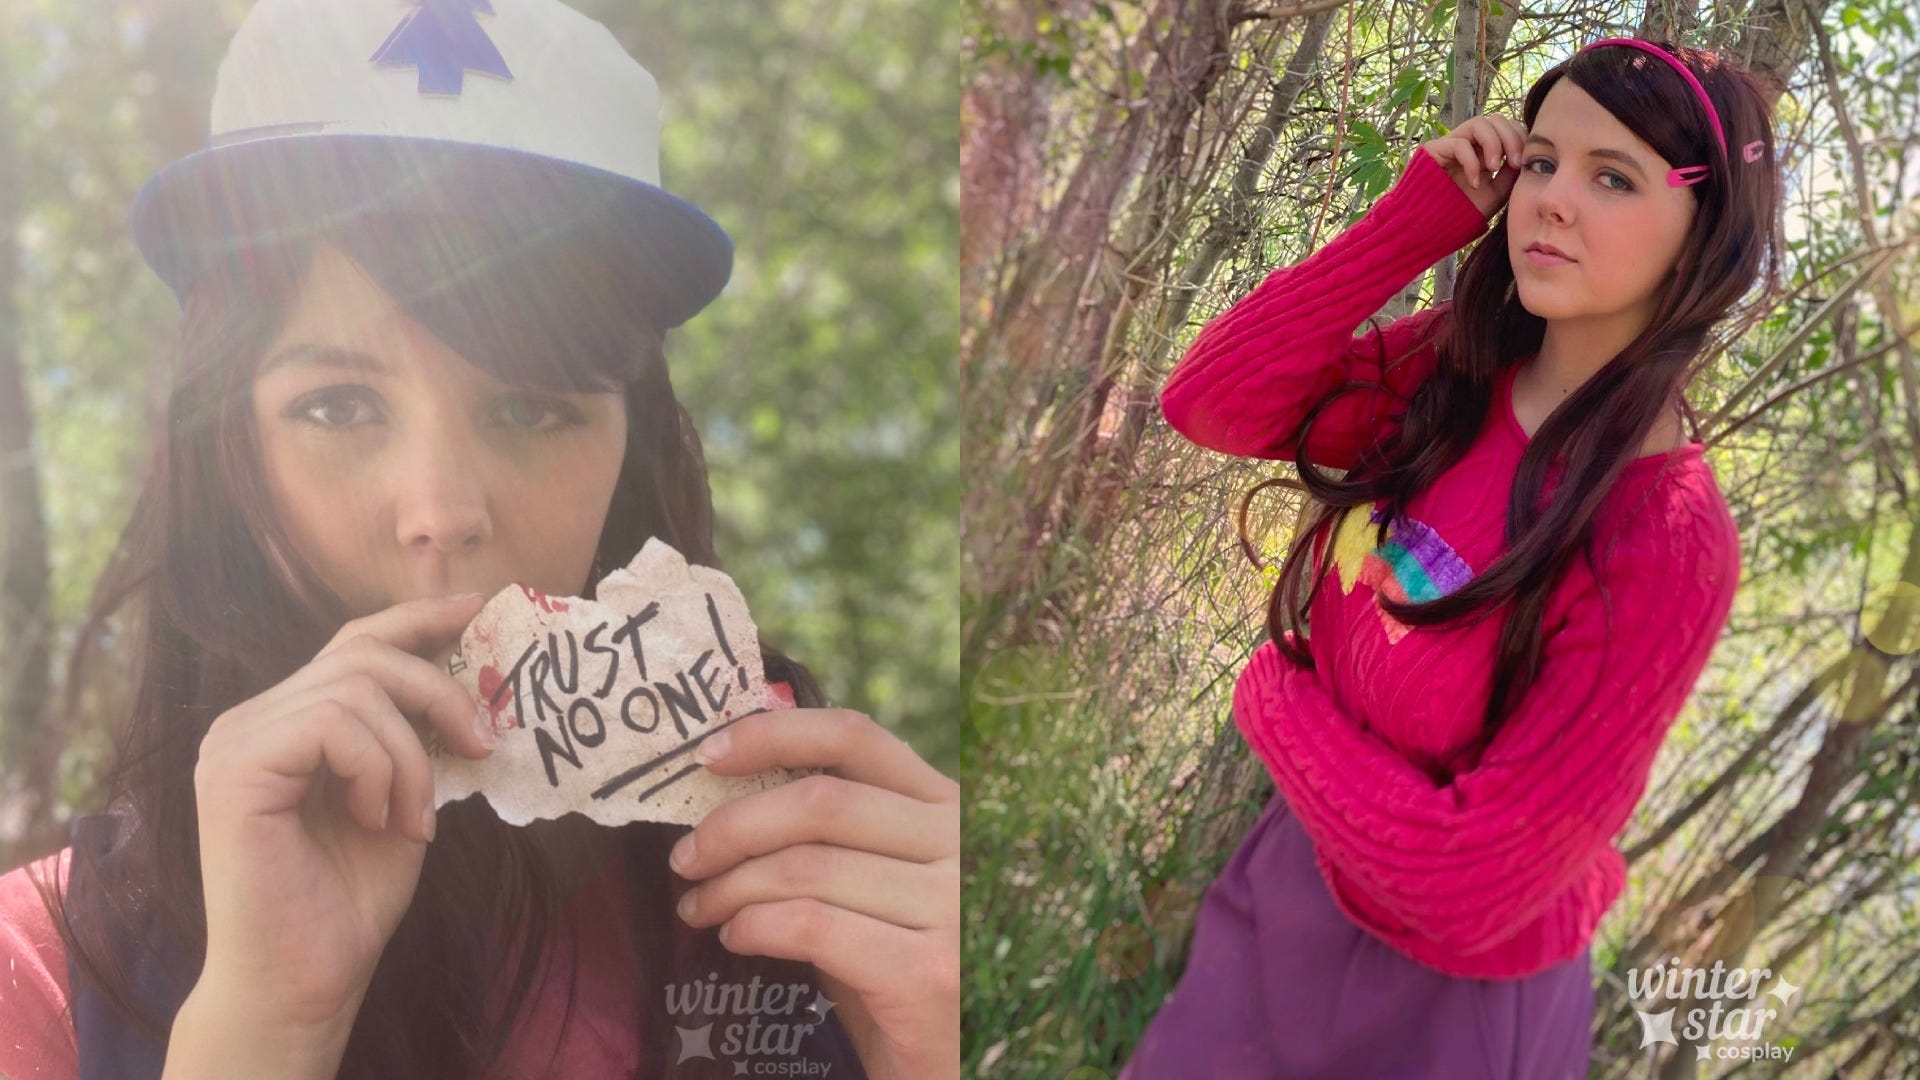
And there you have it! You are now fully educated and equipped to take your own cosplay photos at home. And it doesn’t have to stop there, either! Even if you don’t have someone to shoot with you, you can still go on-location, and get some really nice cosplay photos by yourself. When shooting on-location, I’ll bring my tripod, phone attachment, iPhone, and remote-trigger. With all of these, I take most of my own cosplay photos, and can get some pretty nice results! It takes practice, but I’m confident you can take your own cosplay photos as well, whatever experience level you are, and with whatever equipment you have on hand! Below are two different cosplay photos I took by myself, on-location. It’s many of the same principles as shooting indoors, except you don’t usually need any studio lights!
While self-shooting can sometimes be difficult, and requires a learning curve, it is also a ton of fun, and you can get some great results with it! I hope this article helped give you a good starting point for taking your own cosplay photos at home, and that you now feel more ready to go out and do it! I wish you luck!