Ahsoka Tano: cosplay the Star Wars icon with this headpiece tutorial
Craft the ultimate Star Wars cosplay by learning how to make Ahsoka Tano's lekku.
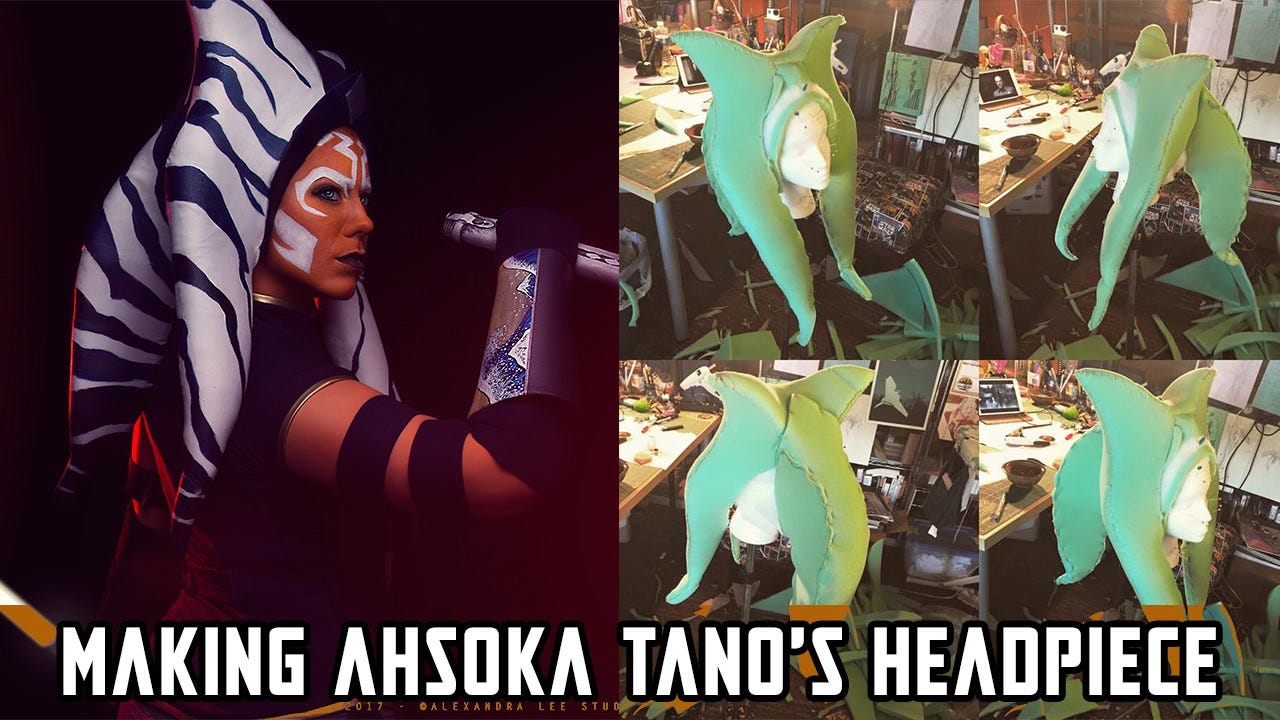

Hello there! It’s your friendly neighborhood Star Wars cosplay creator, Jedimanda here to show you all how to make a version of Ahsoka Tano’s headpiece. With The Mandalorian premiering our first live action appearance of Ahsoka, many cosplayers are flocking to crank out a version of her and one of the hardest parts to create for an Ahsoka cosplay is her iconic headpiece, or lekku/montrals for the proper term.
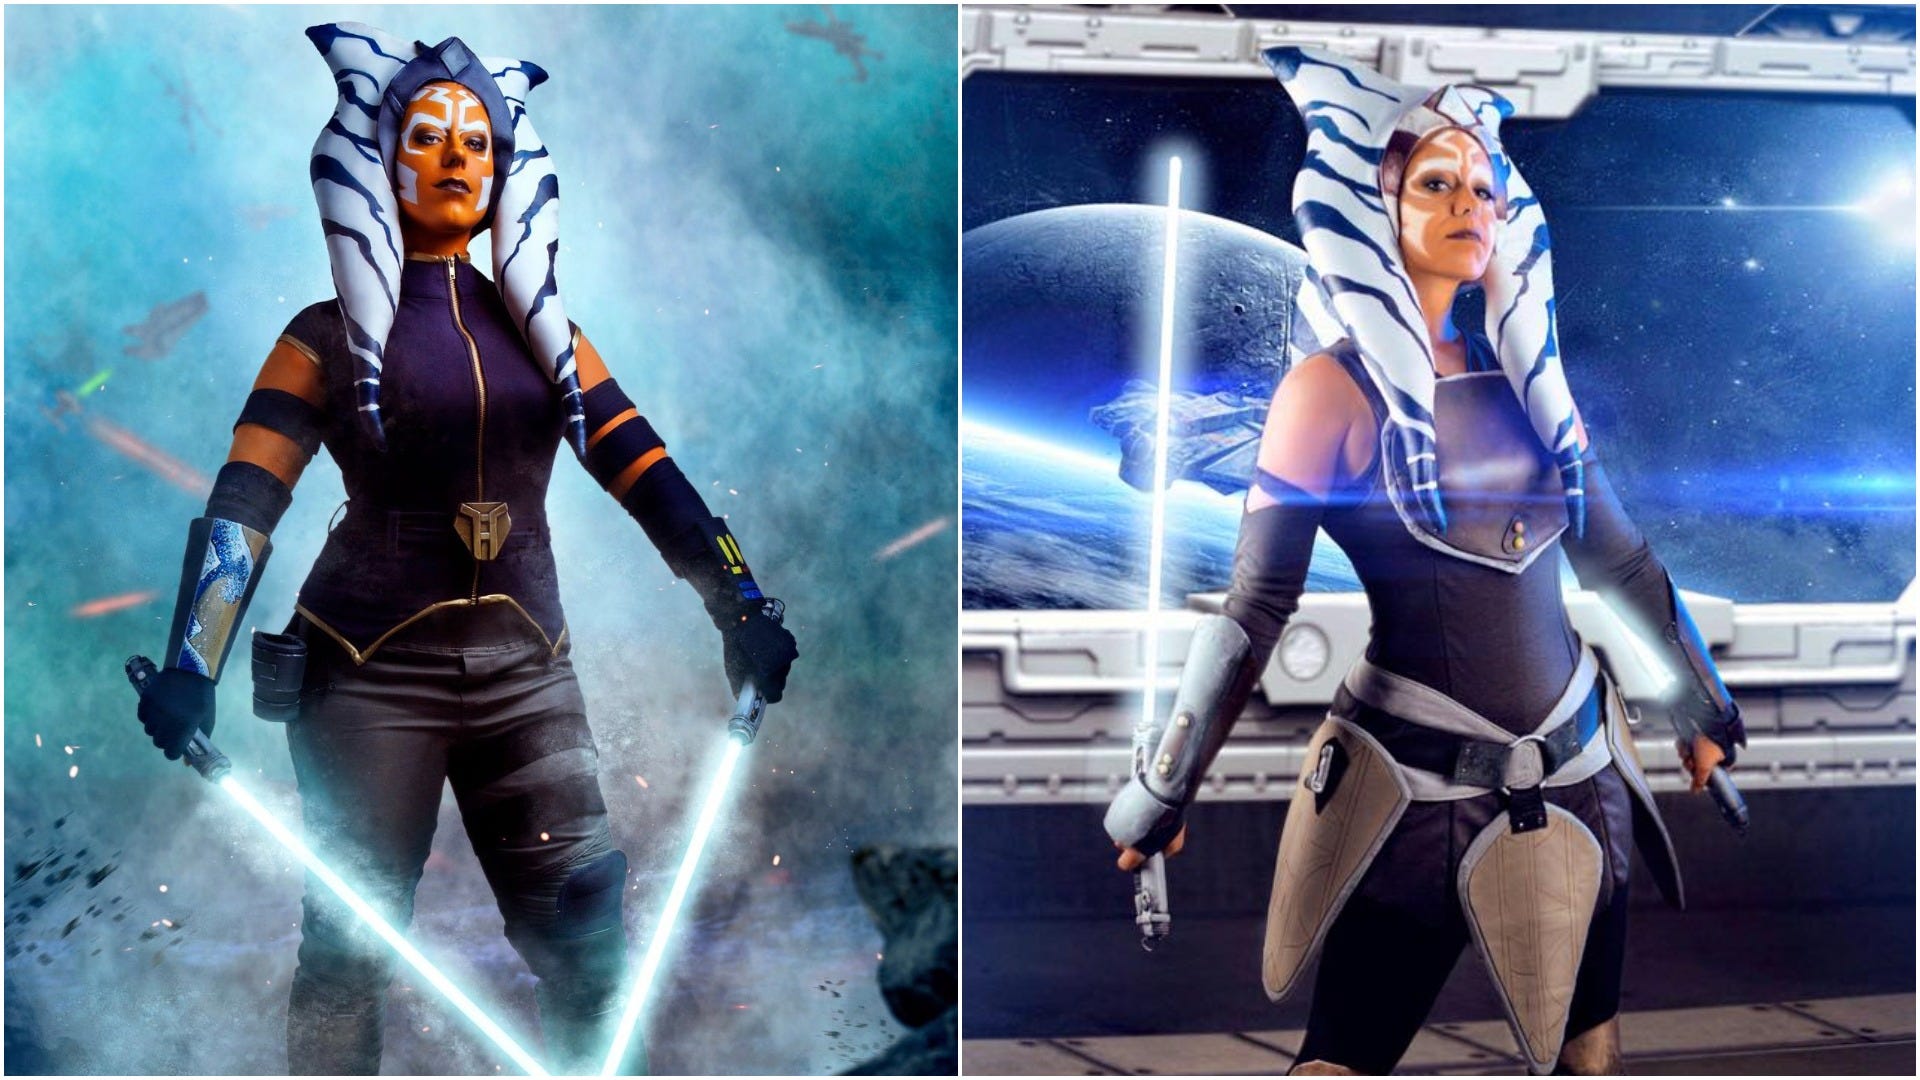
I have created two looks of Ahsoka, her outfit she wears in Star Wars Rebels and her outfit for the front cover of the book, Ahsoka by EK Johnston. For those looks, I had to make, from scratch, some kind of lekku to complete my cosplay.
At first I was completely blindsided. I had zero experience in sculpting, molding, and casting. So, I talked my friends who had experience in puppetry to learn some tips on sewing foam. It was from those conversations that my idea to create the lekku was born.
One of the best parts about this method to make her headpiece is it’s adaptability. You can make any version of her lekku but just changing the pattern and shape.
Before we get into talking about the materials and process, I just want to say to have patience and that you might have to create several different patterns until the fit and look is right for you. I made several mockups of the pattern before I found the perfect silhouette.
Let’s talk materials! These materials are the baseline, you might need more or less of some of them depending on the pattern you create, just an FYI.
- 1 yard of 1” upholstery foam
- 2 yards of 1/2” upholstery foam
- 2 yards of 4 way stretch white spandex
- quilting batting
- hot glue and hot glue gun
- Casting latex and disposable paint brushes
- acrylic paints and paint brushes
- heavy weight sewing thread and long sewing needles.
- Styrofoam head sized to your head circumference.
- Patterning paper or cardboard
- Foam cutting utensils
- OPTIONAL: Wig head tripod or stand
Step 1: Draw out your pattern.
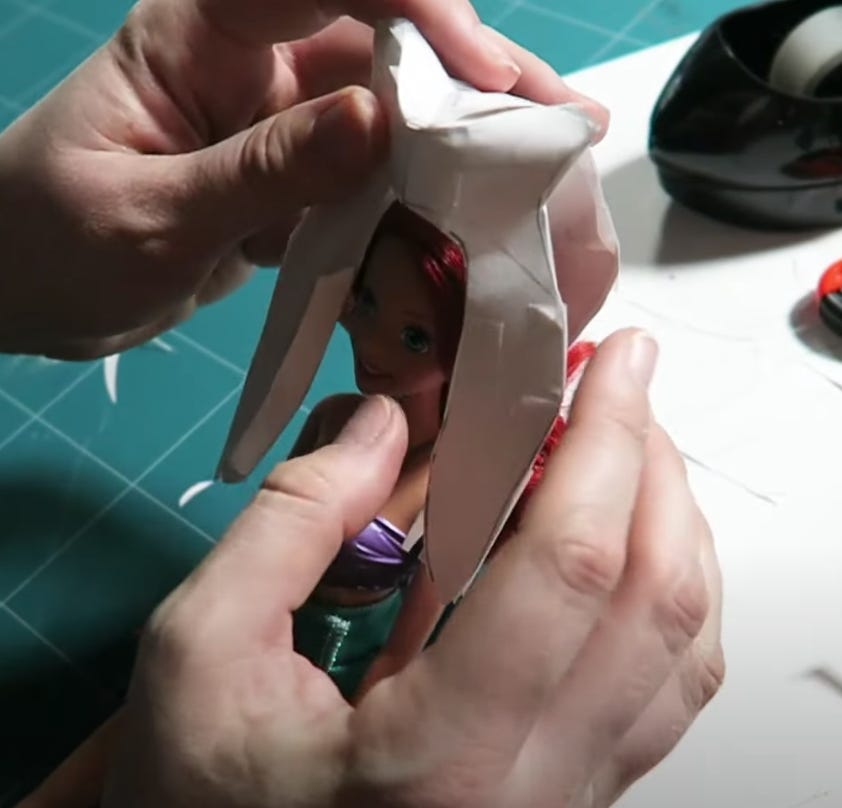
This step depends entirely on your version of Ahsoka you want to make. It’s tough to explain but think about drawing out your lekku in a 2D drawing, then sketch out strips of foam to make those 2D shapes to 3D. You can use newsprint or cardboard to sketch out ideas first, then tape them together (temporarily) to see the shape. If it makes it easier, just do one side then flip the pattern for the other.
When I was creating the shapes, I used a Barbie doll to make a much smaller version. Once I liked the look, I sketch it up to life size. This method really helps and doesn’t use so much material.
Step 2: Cut your foam.
Using sharp blades, slice the foam with your new patterns.
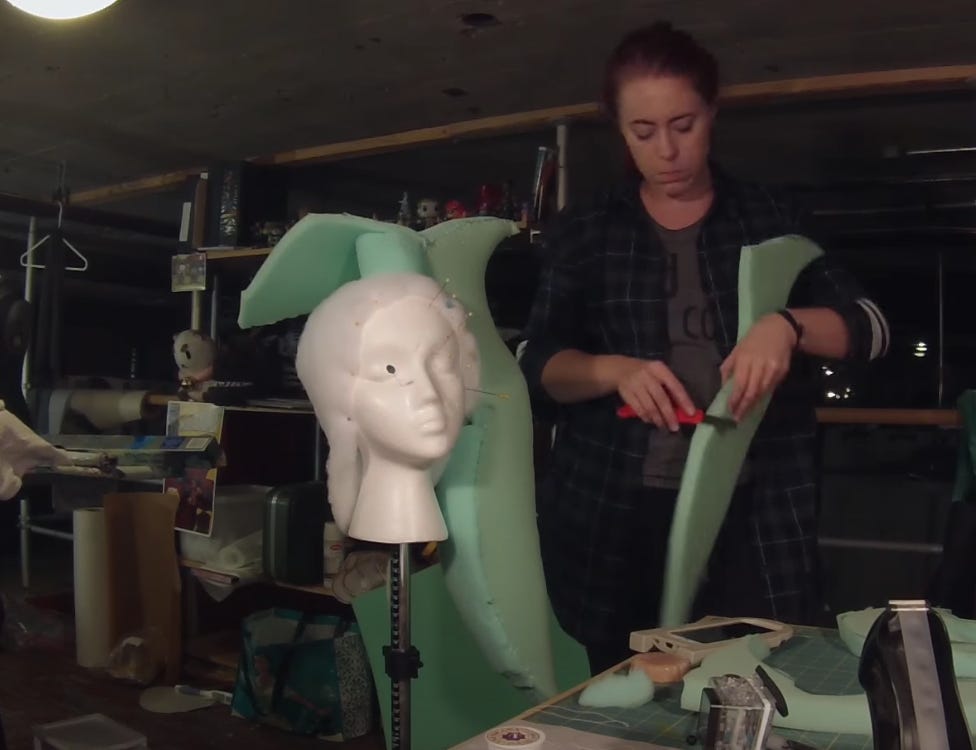
Step 3: Assemble your foam.
Before you start sewing your pieces together, you’ll want to establish a base on your head. I wrapped a piece of quilting batting around the head like a cap, then glued it together in certain places with hot glue. Don’t glue it to the head!
Once you have the base, I took some 1 inch thick foam and made a roll to glue to the top of the quilting batting. The roll is similar to a roll of tape in looks. This is here for the foam shapes to have something to attach to if you are make a tall headpiece like her Rebels style. This roll is optional if you are creating her headpiece look that has lower peeks, like her Mandalorian look.

Now pin together your foam pieces with straight pins and ready your hand sewing skills because this next set takes a while.
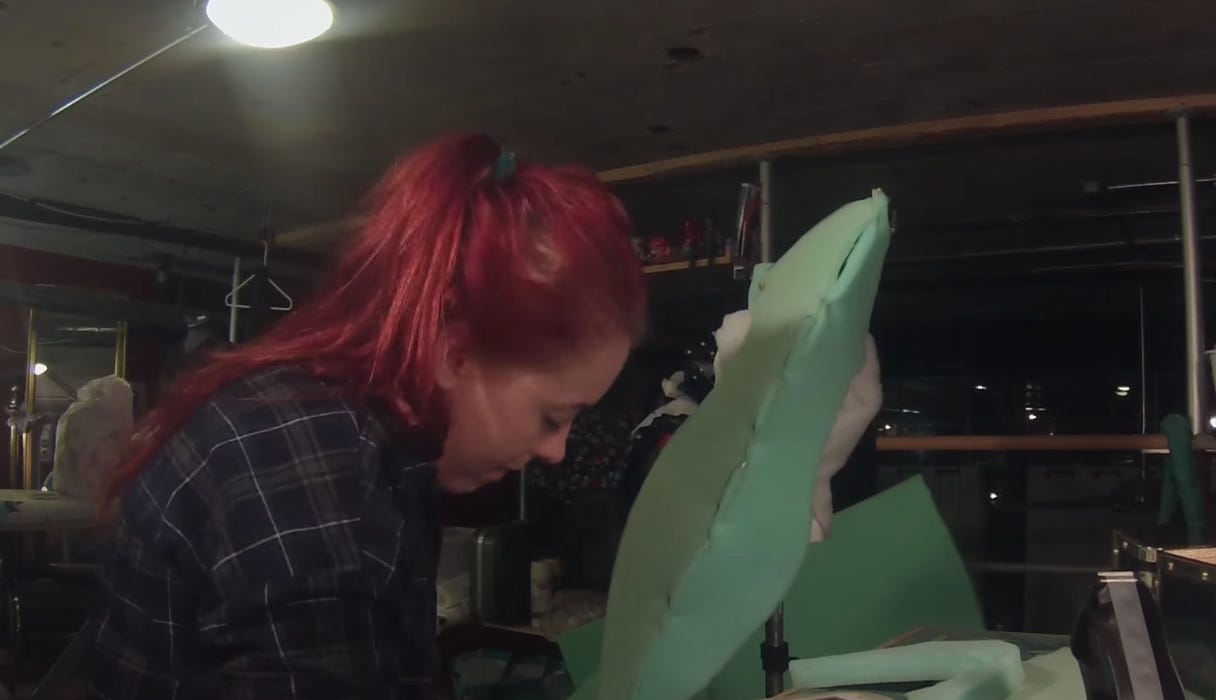
Step 4: Sew your headpiece together
Using a “Henson” stitch, stitch together all your foam pieces. The Henson stitch is a certain type of stitch that the good folks at The Henson puppetry company developed to stitch together their puppets. The goal of this stitch it to connect foam together with a seam that will round itself once the thread is pulled through.
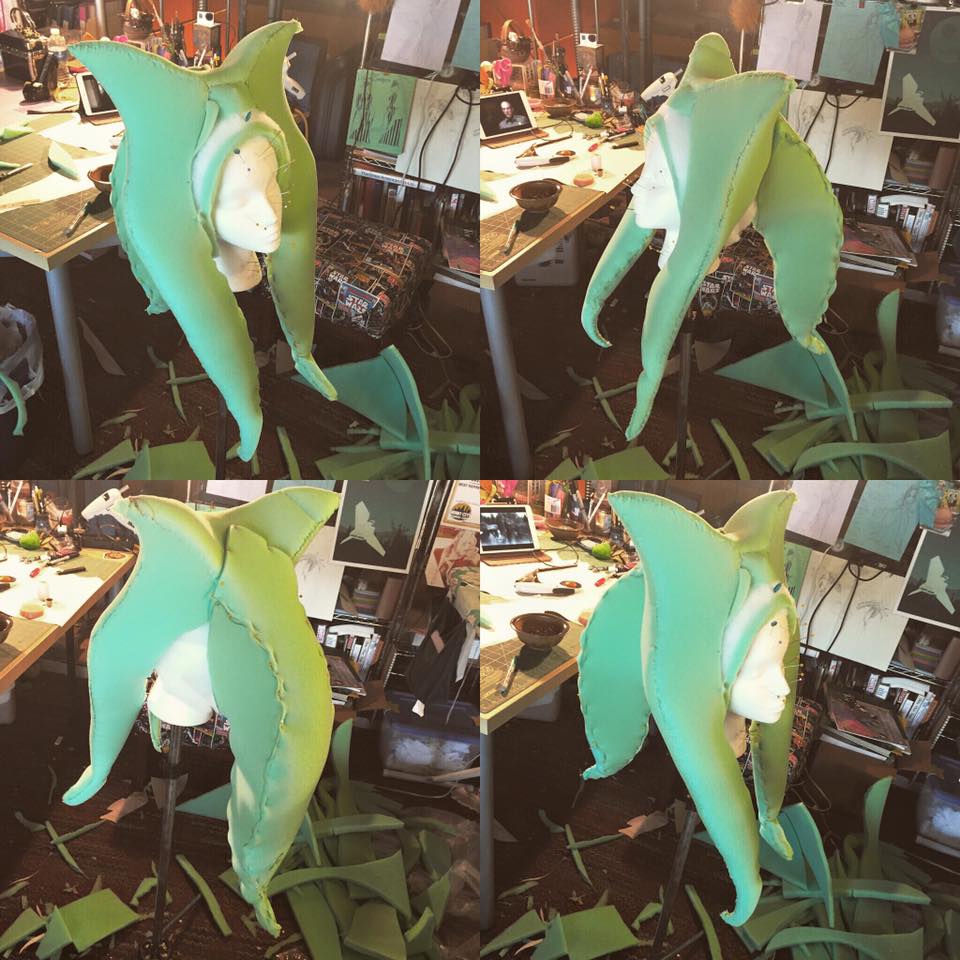
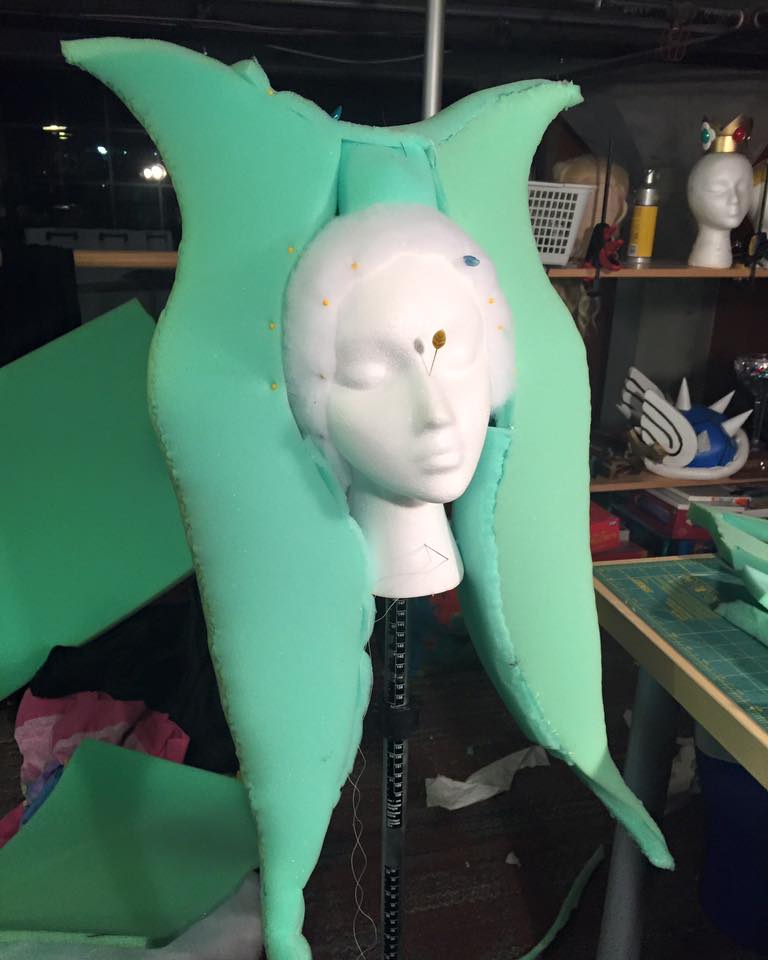
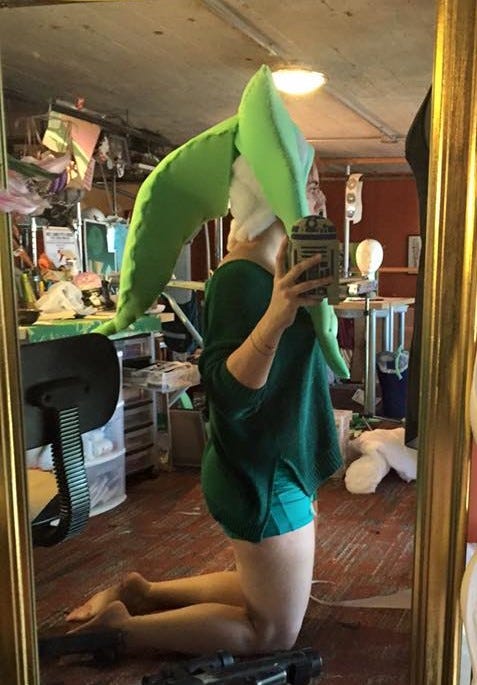
Once you have practiced that stitch, start stitching up your pinned seams. After a hot minute, you will have a green foam headpiece. Try it on at this time and make adjustments if needed.
Step 5: Drape the spandex.
Once you have your headpiece to your liking, now is the time to make the headpiece look like a lekku that is on top of a Togruta person. Be patient with this step because you will have a lot of seams that will show.
Drape the spandex over the headpiece and pin the fabric to make it hug your headpiece like a second skin. Feel free to use a ridiculous amount of pins, forming darts and seams all over the place.
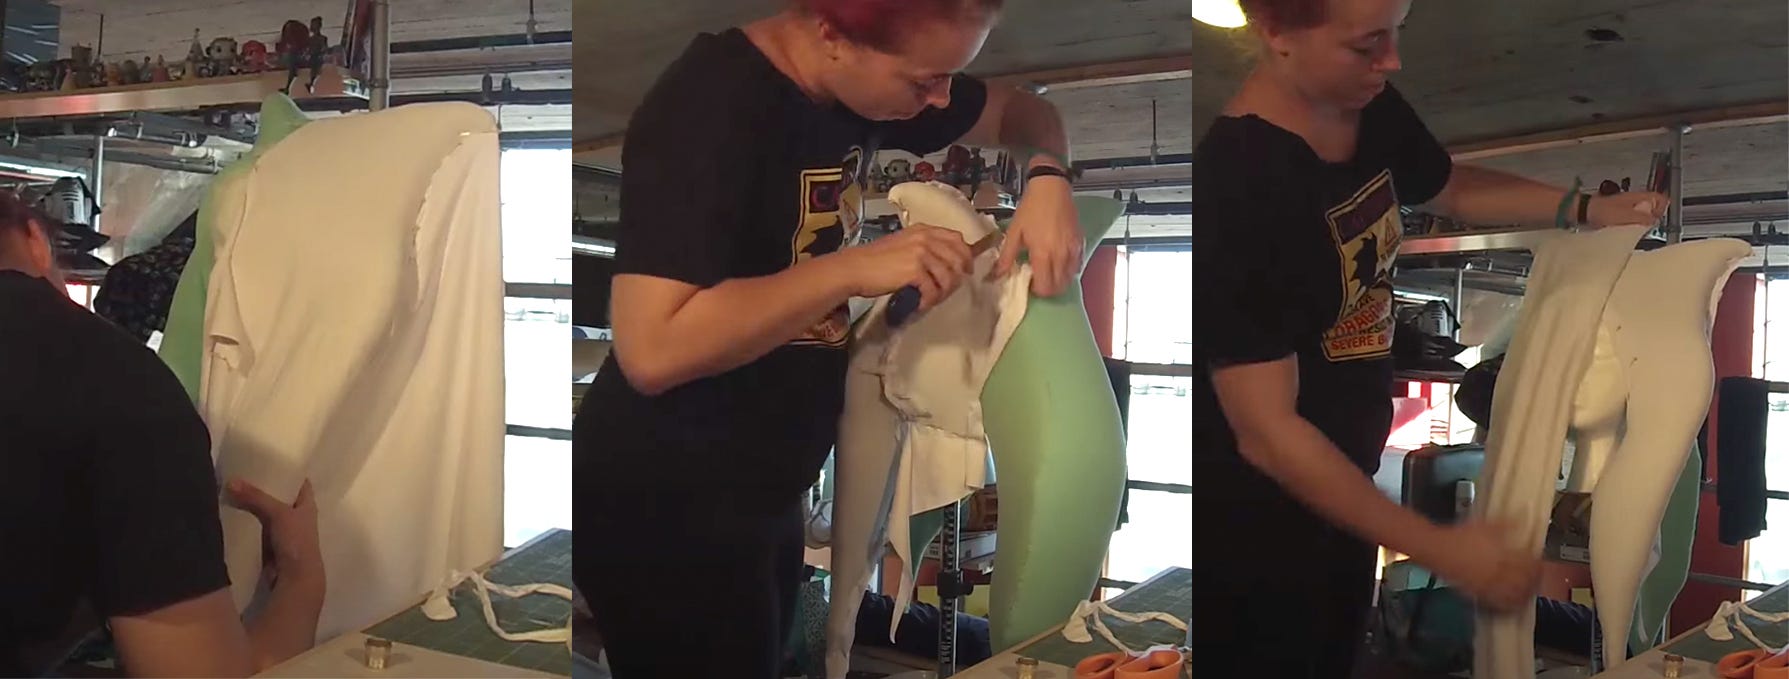
It may look weird right now but when you add the latex, the seams will become less apparent.
Step 6: Sew the spandex
In the same way you sewed the foam, you’ll need to sew the spandex the same way, using the Henson stitch. This step will take you a while as well. Feel free to tuck under the spandex around the face with hot glue. That will help it lay better around your face.
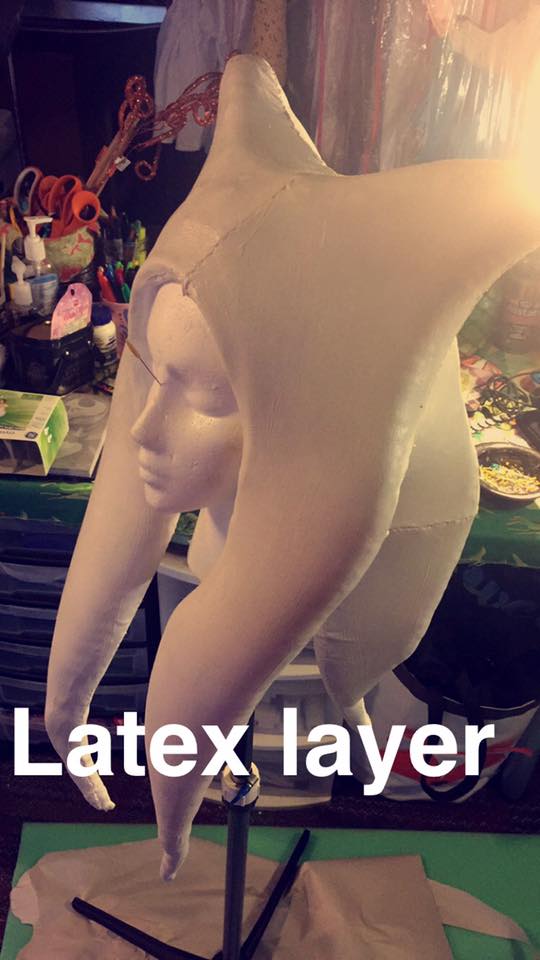
Step 7: Paint on latex
Now that the spandex is all sewn on and looking great, it’s time to paint on the latex. Using disposable brushes, paint the headpiece with your chosen latex. I did about 3 layers letting them completely dry in between. Feel free to layer it on as think as you want, especially over the seams you made.
Step 8: Paint on the iconic colors.
Do not do what I did! I just used acrylic paint for this step, plain ole acrylic. It looked great but over time, the paint started chipping off. So to bypass that, mix some latex into your acrylic paint, or use leather paints. I suggest the Angelus leather paint brand.
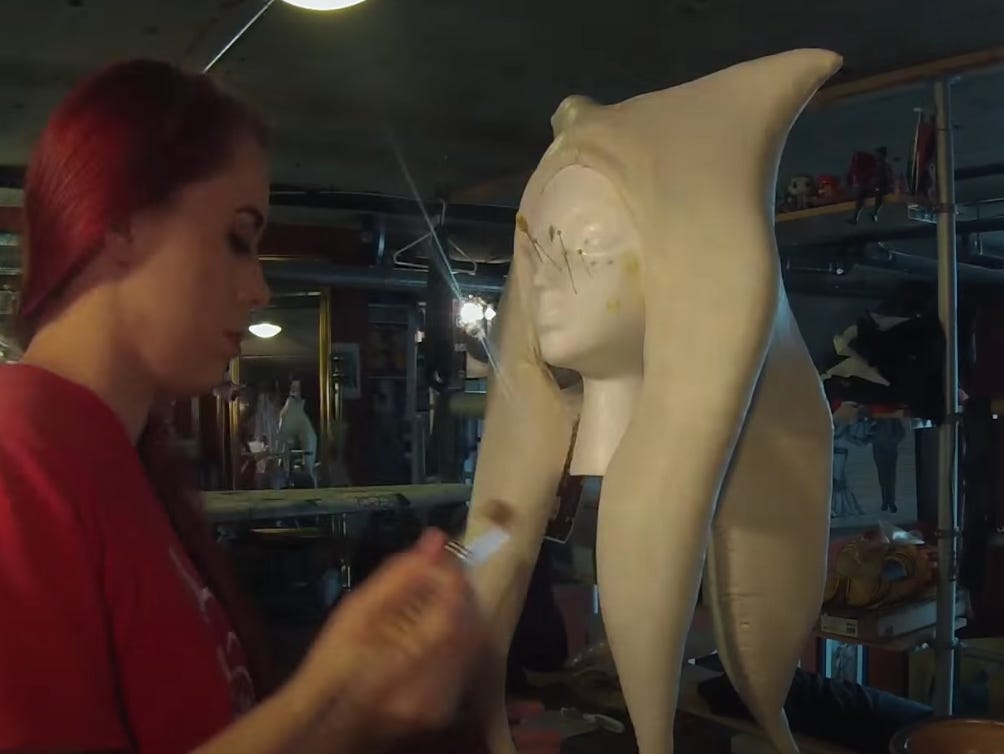
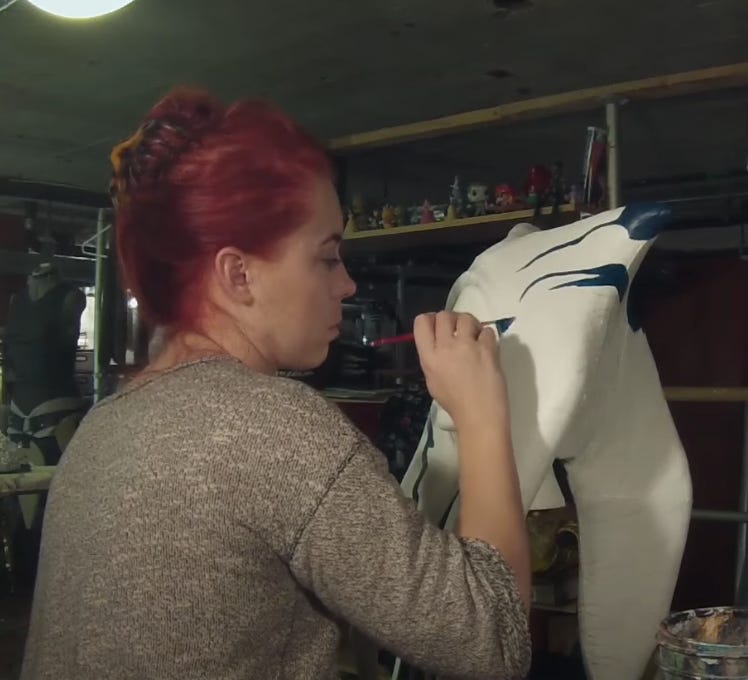
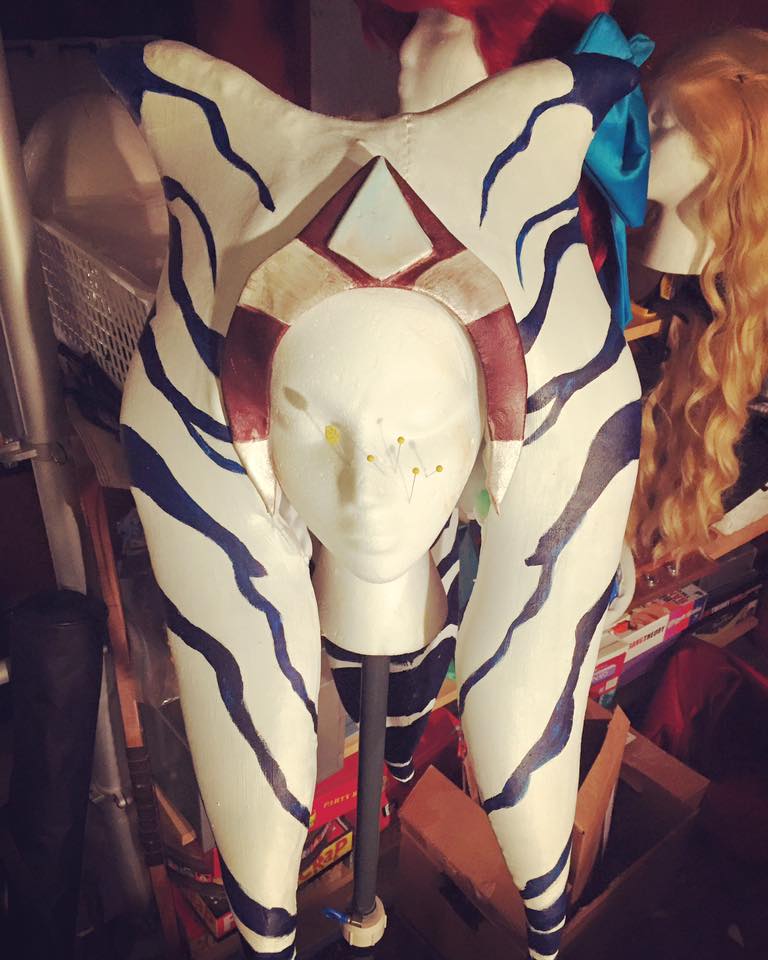
First paint the entire headpiece with white, then using a pencil, draw the areas that you will paint blue. Then apply the blue paint.
Now you are done!
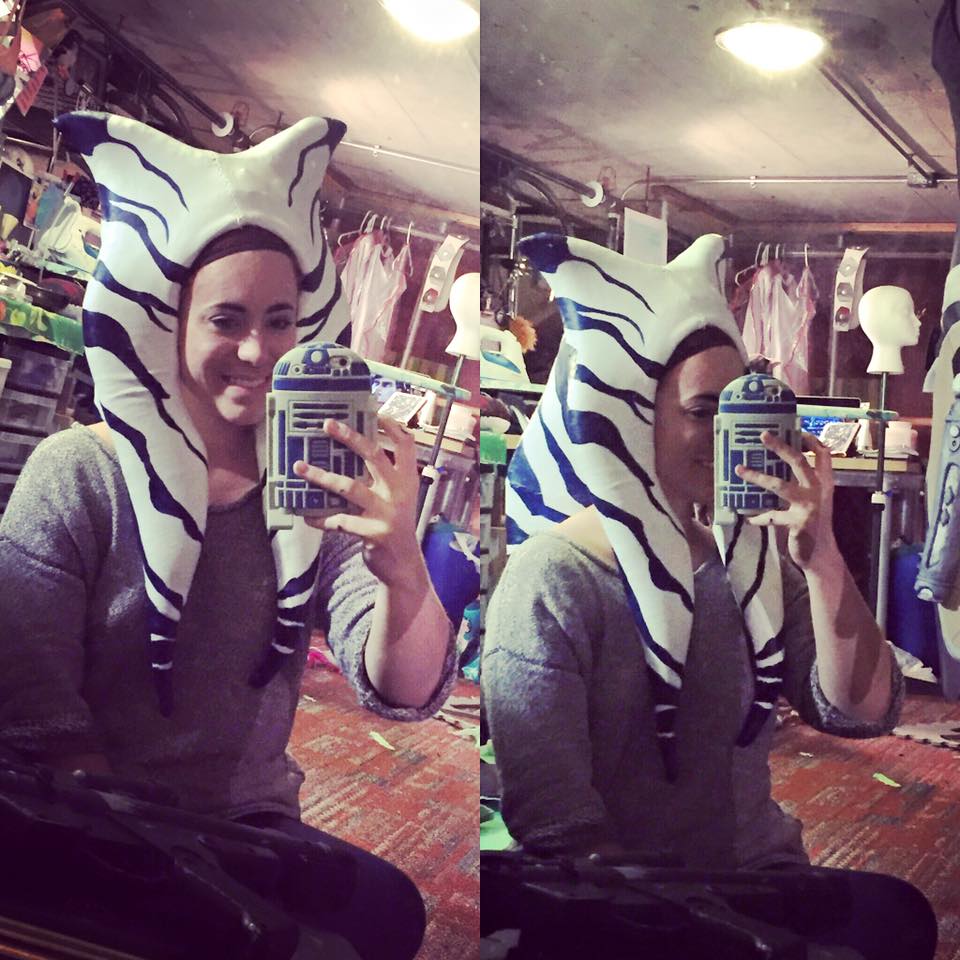
From here, you can create whichever headpiece that will go with your Ahsoka cosplay. That headband will cover the area where your headpiece meets your head. Get ready to become the best jedi, even if she says she isn’t a jedi anymore (wink).
I have two companion videos on my Youtube what explain this process in greater detail: Ahsoka Tano Lekku Tutorial & Ahsoka Revisited. Check them out if you have more questions or reach out to me on social media!
May the force be with you!