Scarlet Witch: Cosplay as the MCU star with this DIY headpiece
Here's a quick and easy guide to crafting your own Scarlet Witch headpiece.
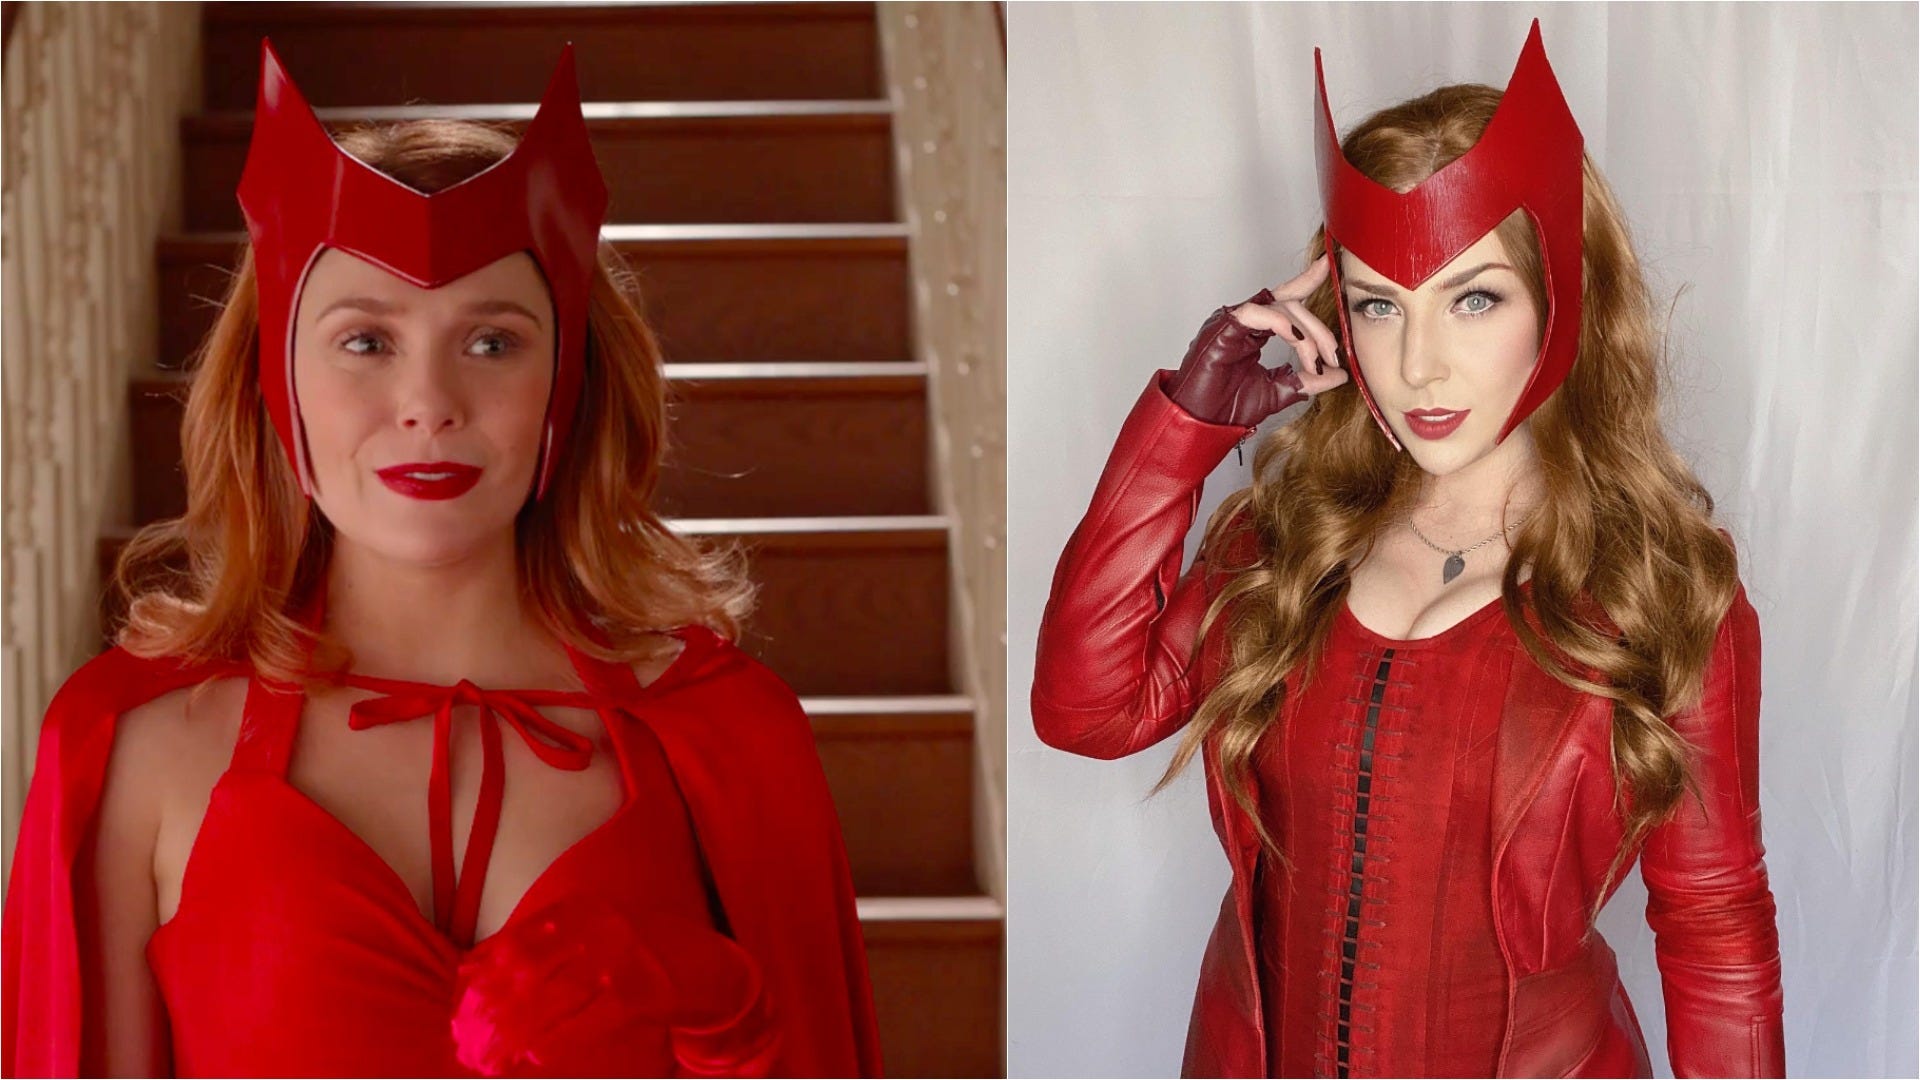

Scarlet Witch has been a fan favorite in the MCU ever since she was introduced in Age of Ultron, and has become more powerful with each movie she’s been in. With WandaVision coming out on Disney Plus this Friday, many are eager to see what the show will do with her powers and if it will move into more of a House of M style.
In the trailer for the show, she is seen wearing her signature headpiece that she wears throughout the comics. Fans rejoiced at seeing the iconic accessory, with many wanting to add it to their cosplays. Being a Scarlet Witch fan myself, I wanted to create a full tutorial for those who want to create her iconic look. Here’s a step-by-step tutorial to create your own Scarlet Witch headpiece.
Materials Needed:
- 4mm EVA Foam
- Paper
- Super glue
- Hair Clips
- Elastic
- Flex Seal
- Heat Gun
- Neodymium Magnets
- Red paint (PlaidFX or DecoArt)
- Worbla (optional)
Step 1: Create Your Pattern
When creating the pattern I opted to draw one side of the headpiece since it is symmetrical. I highly recommend drawing your pattern with a pencil because you can erase and redraw if you don’t like how it looks. It took me about three tries of drawing the pattern before I finally ended up with a pattern I liked.
I measured the top of my head to where I wanted the headpiece to stop to make patterning a little easier. Once you have drawn your pattern, cut it out with some scissors and hold it up to your head to make sure it’s to your liking.

Step 2: Trace Your Pattern Onto EVA Foam
Take your paper pattern and trace it onto 4mm EVA foam. Once you have the first side, flip the paper pattern over and trace on the other side of the headpiece.
Cut out your pattern with some scissors and again hold it up to your face to make sure it’s to your liking. I ended up cutting a little bit off the top on mine to really make the headpiece look more like the tip of a crown.
Take your heat gun and shape the piece to your liking.
Step 3: Seal Your Foam
Once your foam has been shaped, it’s time to seal it. I highly recommend using Flex Seal, as I have found that it is able to bend and move a little better than plasti dip. On my first try with this headpiece I tried plasti dip, but it ended up being a little too stiff to my liking. Flex Seal should definitely do the trick.
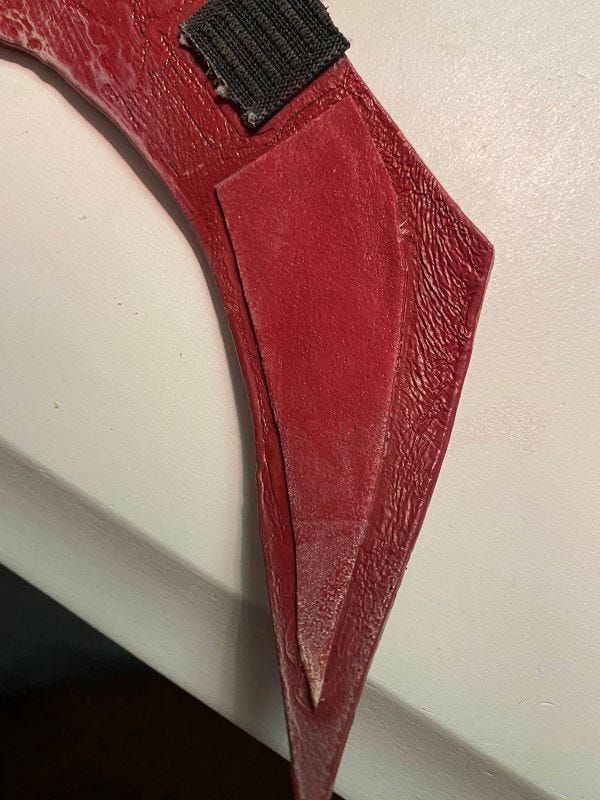
OPTIONAL: Add Worbla
For this optional step, you can add pieces of worbla to secure the shape better after you have sealed your foam. I took strips of worbla that I had from a previous project and shaped them to the lower parts of the headpiece. For extra hold, I glued them onto the headpiece.
This step is completely optional, but I found it nicer to have the lower half of the headpiece shape properly to my head with the worbla in place.
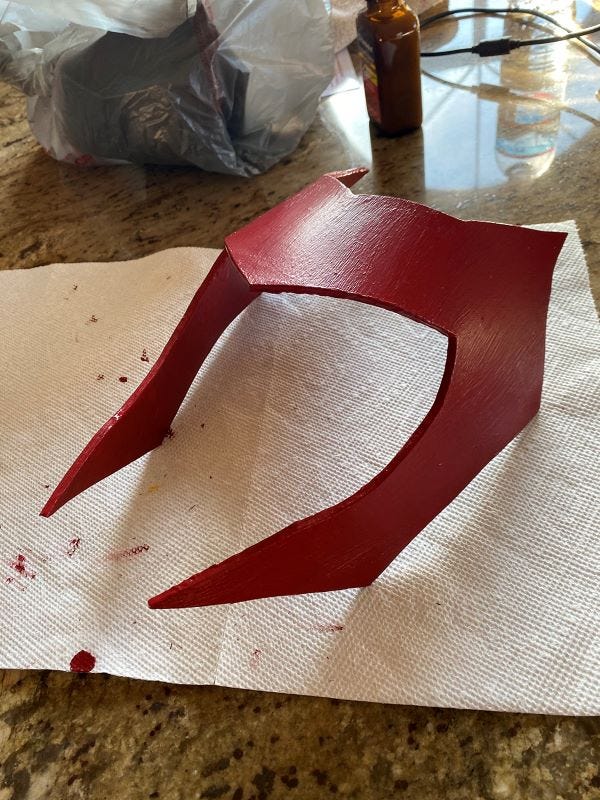
Step 4: Painting!
Now that you’ve sealed your headpiece, it’s time for painting! When I first painted my headpiece, I used DecoArt acrylic paint. I was in a bit of a con crunch when I first started making this headpiece, so I simply went to my local Michaels store and got the best color red paint I could find.
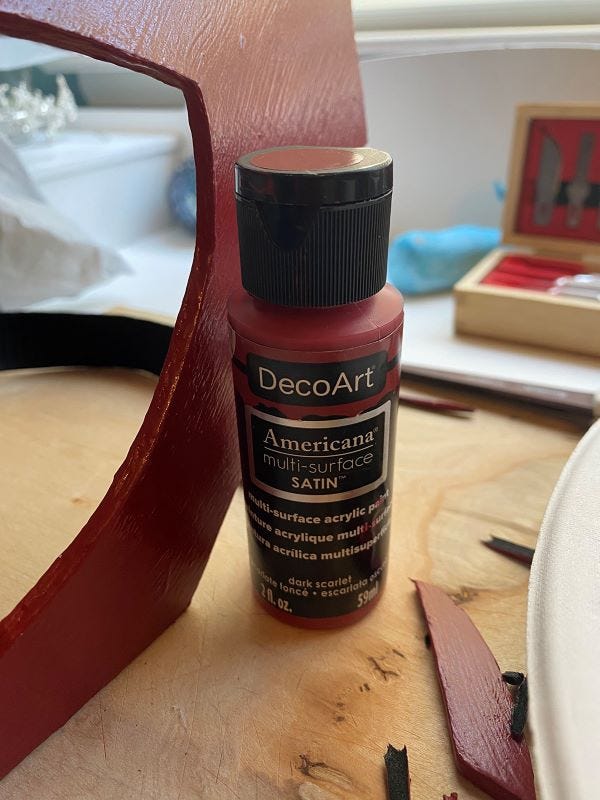
I did notice over the next several months, the acrylic paint started to wrinkle a little with each wear of the headpiece. If I were to rebuild this, I would use PlaidFX paints as they are very good at not cracking or peeling like regular acrylic paints.
Step 5: Add Attachment Pieces
The final step is adding the attachment pieces. When I first made this, I simply added a band of elastic and wrapped it around my head. While this was okay, I didn’t like how it seemed to stretch the headpiece outwards.
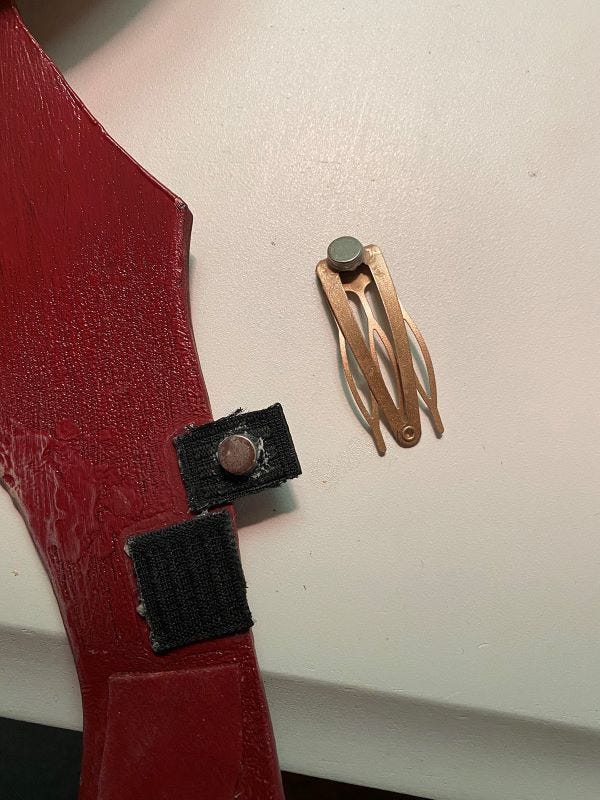
For my second try, I cut the elastic and added two neodymium magnets on either side of the headpiece by gluing them on with super glue. Then, I took two hair clips and super glued the other half of the magnets onto them. This essentially created an easier way to clip the headpiece into my hair without having to worry about getting elastic around my head.
Silhouette Cosplay has a great video tutorial showing how to do this to a Loki headpiece. She also uses fabric tape to keep the headpiece in place, which I also did for my Scarlet Witch headpiece as well. This is optional, but if you want it to completely form to your face, it does work very well.
Finished!

You’ve finished your Scarlet Witch headpiece! Congrats! Now you can wear it with the rest of your cosplay and prepare for the show’s release.
WandaVision premieres on Disney Plus on Friday, January 15th.