Guide
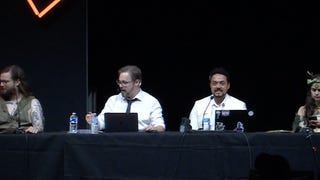
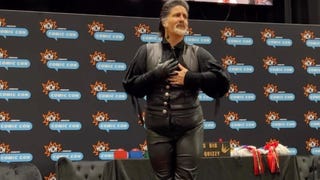
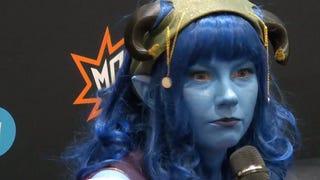
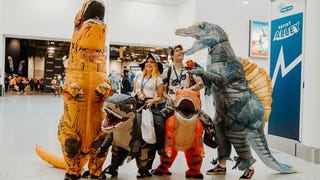
Kevin Smith, Brandon Sanderson, the One Piece cast, and so many more are all at C2E2 2024 - watch them live!
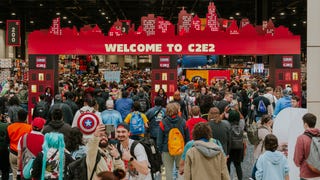
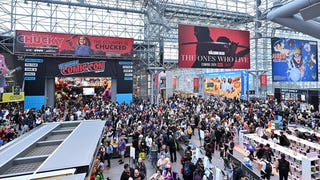
The 12 biggest panels of Chicago's C2E2 2024 will be able to be watched live from anywhere, straight into your home or phone.


.jpg?width=320&height=180&fit=crop&quality=80&format=jpg&auto=webp)


.jpg?width=320&height=180&fit=crop&quality=80&format=jpg&auto=webp)
.jpg?width=320&height=180&fit=crop&quality=80&format=jpg&auto=webp)


.jpg?width=320&height=180&fit=crop&quality=80&format=jpg&auto=webp)