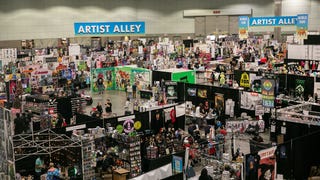
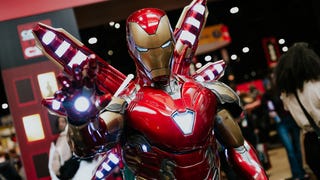
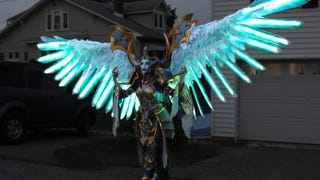
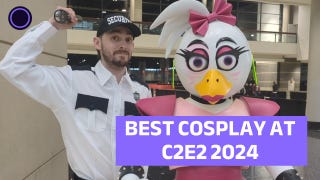
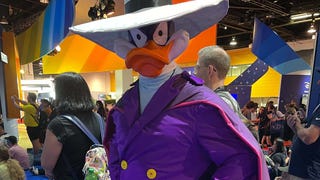
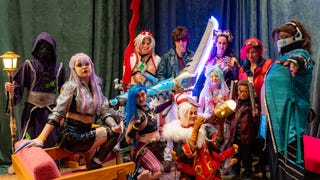
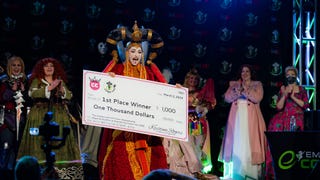
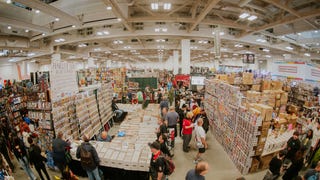
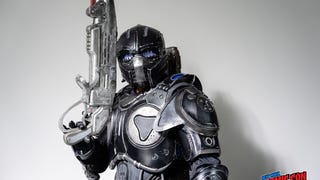
The Best Ways To Make Molds Using Hot Glue And Foam Clay
Sometimes the details your want for your foam armor are extremely specific. It might be a symbol from your clan to a certain raised detail to indicate the army you fight for. You are probably considering crafting your details from scratch. So, let’s get into how to use molds, make custom molds, and casting those specific details.
Products Used
- 4mm foam
- Evil Ted silicone mold
- Easy Mold silicone putty
- Hot glue
- Foam Clay
- Dremel and sanding bits
- Super glue
- PLAID FX paints in Dragon’s Breath, Gold Coin, and Blizzard
- Various brushes
I’m going to show you here how to make some custom details using Evil Ted’s molds sold at Michaels as well as making your own molds using mold putty that you can also purchase at Michaels.
First let’s talk about using pre-made molds. These molds are typically made from silicone and are ready for lots of different types of materials to be poured or placed in. Within this article, I’ll be using foam clay and hot glue as my materials in these molds. Both of these materials are easy, cheap to come by and work great!
Grab your hot glue gun and pour some hot glue into the mold. I caution you, PLEASE give it at least 10 minutes to dry completely. As you can see here, I got too excited and got the hot glue all over me. Ouch.
While that is drying, I’m going to get some foam clay, also available at Michaels, and press it into the mold. Foam clay is a wonderful new product to the cosplay world. It’s an air drying, non-toxic, sculptural material made from foam! Allow a full day to dry before painting or sanding. Once it becomes solid, you can treat it like regular foam. Seal it, sand it, and paint it, foam clay is revolutionary to prop making.
In this case, to speed up the drying time for the foam clay. I’m going to stick the mold into the freezer for about 2 hours. Once that time is up, immediately remove from the mold and adhere it to your foam. The foam might soften the more it’s handled.
Once your foam clay and hot glue casted pieces are finished, I cleaned them up with a Dremel and sanding bits to ready to glue down on the foam sample.
Now let’s talk about creating our own molds. There are several different mold making products out there. This specific one is a favorite of mine, Easy Mold silicone putty. It’s so easy, it is a 1:1 ratio, blend tougher and its ready for your item to be pressed into it. You can sculpt something out of clay, Sculpy clay, or what I’ve done here is find this neat button to press into the putty. This tree motif will look neat on armor, so let’s cast it in hot glue!
Once the hot glue was dry, I popped out the tree, trimmed it up with my Dremel then super glued it to my foam sample. I think all these details look so cool together!
The extra details are now complete and glued to my foam! The coolest part about have molds is that you can make so many more details. I love having that power!
I sprayed two layers of Plasti-Dip speciality rubber costing spray in black first. Then to finish up this foam piece, I splashed some PLAID FX paint in Dragon’s Breath. Then dry brushed on some PLAID FX paint in Gold Coin to give it extra flare. Lastly, I lightly touched the edges of the details to highlight them with PLAID FX paint in Blizzard.
Just remember to experiment with mold making and casting, get creative and you’ll make some amazing details to add to your foam armor.
Happy Mold Making!